
- SureCookie Installation Guide
- Installing SureCookie Pro
- Updating SureCookie
- How to Set Up SureCookie: Onboarding Wizard Guide
- SureCookie Dashboard Overview
- Connecting Your Site to SureCookie (Scanner Setup)
- Using SureCookie on Multiple Sites
- Uninstalling SureCookie & Data Cleanup
- SureCookie Shortcodes Reference
- Preferences Settings (Menu, Branding, Analytics)
- Customizing Banner Content
- Customizing Banner Layout
- Custom CSS for Banner Styling
- How to Configure the Floating Widget
- Customizing the Preference Modal
- Controlling Where the Cookie Banner Appears
- Customizing Banner Colors (Custom Colors, WCAG)
- Customizing the Blocked Content UI
- Banner Text in the Wrong Language (WPML, Polylang, and Locales)
- Re-Consent
- Understanding SureCookie Logs
- How to Set Up Geographic Targeting
- Block Scripts Until Consent (Resource Blocking)
- Setting Up Google Consent Mode v2
- Consent Models Explained (Opt-in vs Opt-out)
- Exporting Consent Logs (PDF Proof + CSV)
- Consent & Data Settings (Duration, Retention, Renew)
- Consent Forwarding Across a Multisite Network
- Resource / Script Blocking (Add Embeds + Fixes)
- Troubleshooting SureCookie
- Fix a Stuck or Failed Cookie Scan
- Why Some Cookies Aren’t Detected
- Banner Not Appearing: Troubleshooting
- Settings or Cookie Categories Not Saving or Loading
- Embeds Blocked After Consent (YouTube, Maps, Vimeo)
- Site Performance / Page Speed
- Scanning Your Site From Your Browser
- Importing and Exporting SureCookie Settings
- Verifying Your Domain With a DNS Record
Customizing Banner Layout
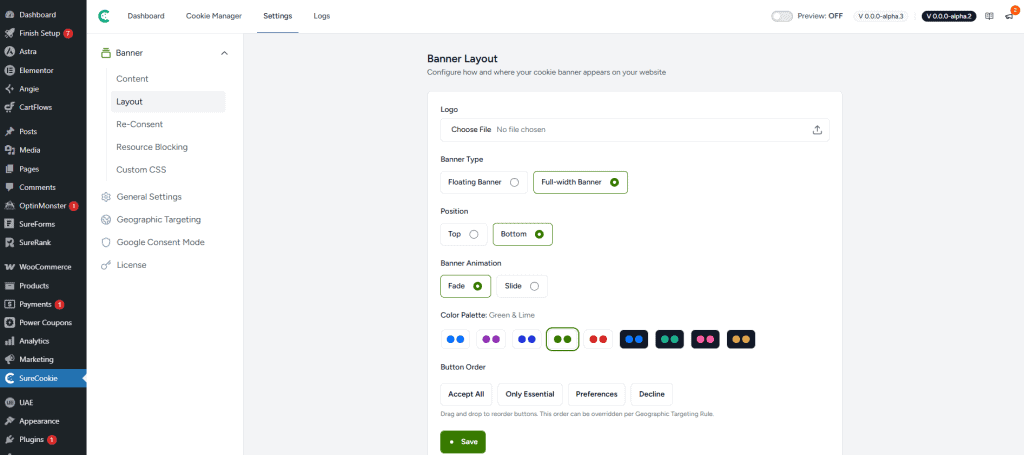
The Banner Layout settings let you control the appearance and position of your cookie consent banner on your website. Configure the banner type, set its width, choose its position, add animations, select colors, and arrange your consent buttons exactly how you want them.
Accessing Banner Layout
- Open your WordPress Dashboard.
- Go to Surecookie > Settings.
- Click on Banner Layout.
Logo
Add your site’s logo or branding to the banner by uploading an image file.
Click Choose File to select an image. It will give you the option to upload images from your Media Library or from your device.
Leave this blank if you prefer a text-only banner.
Banner Type
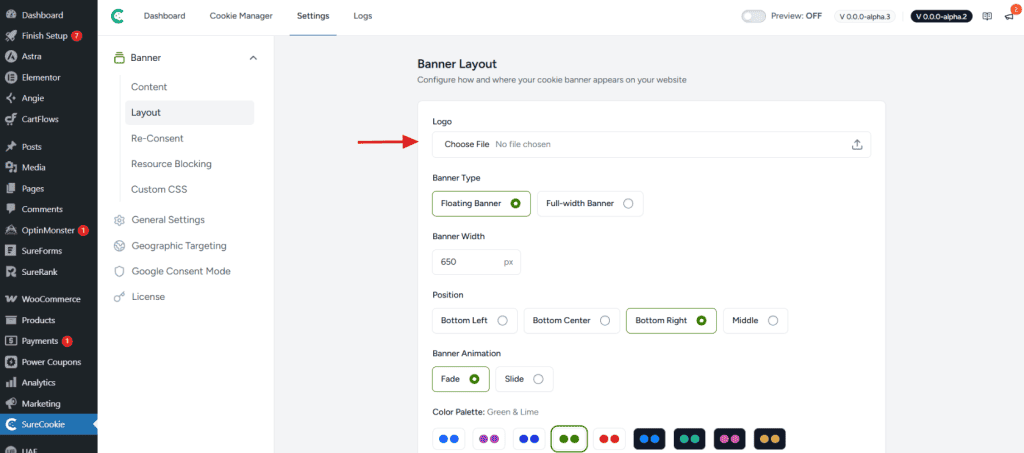
SureCookie offers two banner layout styles. Choose the one that works best for your site and compliance needs:
Floating Banner
A small banner that stays fixed on your screen as you scroll. It doesn’t take up page space, so your content stays visible. You can adjust the width to fit your needs. The banner remains visible as users scroll. This is the least disruptive option and works well for most sites.
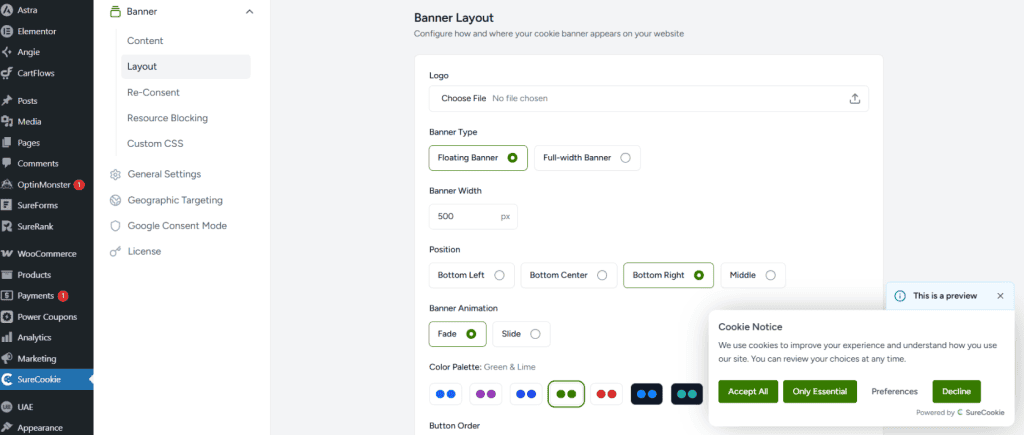
Full-width Banner
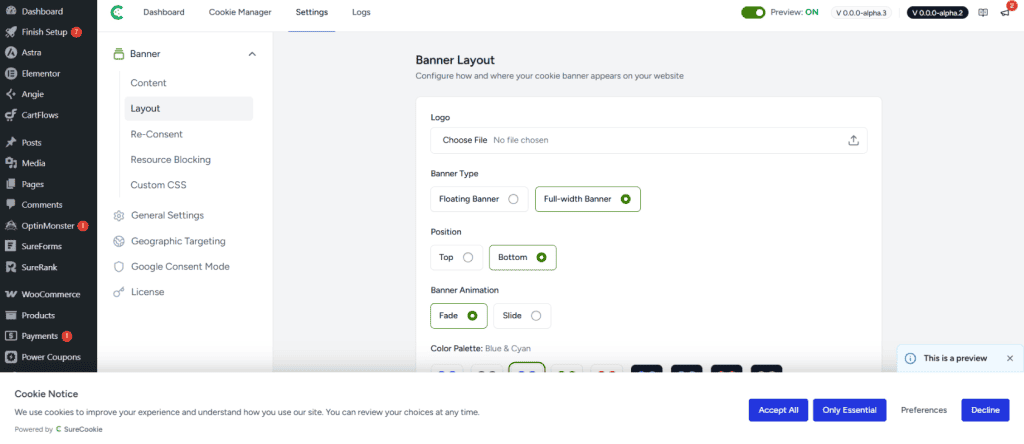
A horizontal bar that stretches across the full width of the page at the top or bottom. This draws more attention and is commonly used for prominent consent displays. The banner takes up space on the page and may shift your content, but provides high visibility.
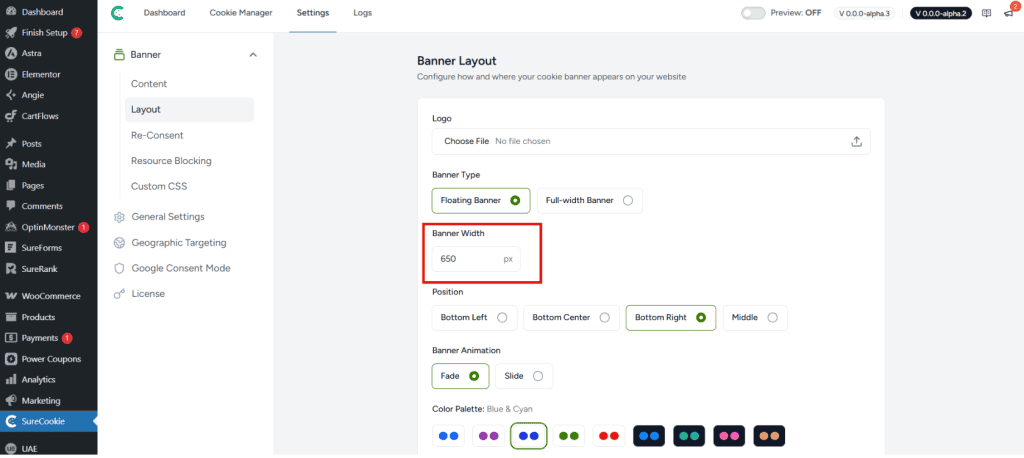
Banner Width
Banner Width is used to set a custom width for your floating banner in pixels. This lets you control exactly how much screen space it takes up. The default is 650 pixels, but you can adjust it to match your design. This option is only available for floating banners.
Position
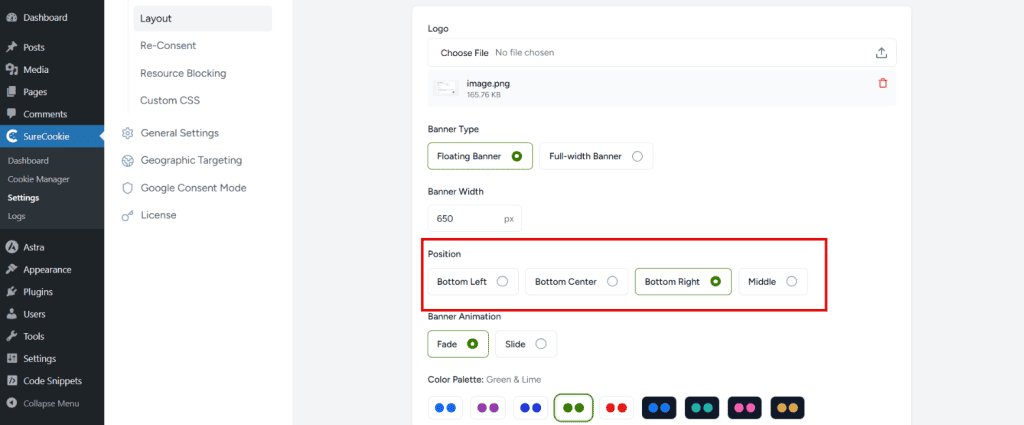
Banner positions lets you choose the position of your cookie banner on the site. These options help you set the position that best suits your design and visibility requirements.
Floating Banner Positions
- Bottom Left: Subtle and out of the way. Widely used
- Bottom Center: Balanced visibility
- Bottom Right: Subtle and out of the way
- Middle: Center stage (grabs attention like a pop-up)
Full-width Banner
- Top – Right at the page entrance
- Bottom – After users scroll through your content
Banner Animation
Add an entrance animation to your banner so it smoothly appears rather than popping in instantly. Choose from these animation styles:
- Fade: The banner gradually fades into view.
- Slide: The banner slides into view from the edge of the screen.
A preview of the animation plays in the banner preview panel on the right, so you can see the effect before saving.
Color Palette
Change the color scheme of your banner in one click using SureCookie’s pre-built color palettes. Click on any color palette option to see an instant preview of how your banner will look.
The banner preview on the right updates immediately so you can compare different color combinations before saving.
Button Order
Customize the order and visibility of your consent buttons. The default order is:
- Accept All
- Only Essential
- Preferences
- Decline
You can drag and drop buttons to reorder them. This order can be overridden by the Geotargeting Rules if you have specific compliance requirements for different regions.
The help text below the button order section notes: “Drag and drop to reorder buttons. This order can be overridden per Geotargeting Rules.”
Preview Mode
Before making any layout changes live, use the Preview toggle at the top of the SureCookie dashboard to see exactly how the banner will appear to your visitors. Preview mode is only visible to administrators and does not affect your site’s actual visitors.
Saving Your Changes
Once you’ve configured all your banner layout settings, click the green Save button at the bottom of the page to apply your changes.
We don't respond to the article feedback, we use it to improve our support content.